


Pearly Queen Chocolate Cakes
- Serves:
- 8
- Ready in:
- 30 to 60 mins

Ingredients
- [hr]For the sponge[/hd]
- 340g unsalted butter, softened
- 340g caster sugar
- 6 Ella Valentine free-range baking eggs, beaten
- 340g self-raising flour, sifted
- 50g cocoa powder, sifted
- 3tbsp milk (optional)
For the filling
- 220g butter, softened
- 300g icing sugar, sifted
- 100g cocoa powder, sifted
- 2-3 tbsp milk (optional)
For the icing
- 10g apricot jam
- 200ml double cream
- 200g dark chocolate, roughly chopped
- 1tbsp liquid glucose
- black food colouring (optional)
- edible buttons and pearls, to decorate
Equipment
- 20x20cm square cake tin, greased and lined
Method
- 1
Preheat the oven to 180C/350F/Gas 4. Cream together the butter and sugar until light and fluffy then gradually beat in the eggs. Lightly fold in the flour and cocoa powder, and loosen the mixture with the milk if needed (the mixture should drop easily from the spoon).
- 2
Transfer the mixture into the prepared tin and level. Bake for 45-50mins until risen and firm to the touch. A skewer inserted in the middle should come out clean. Transfer to a wire rack to cool meanwhile make the buttercream.
- 3
With an electric hand whisk combine the butter, icing sugar and cocoa powder until light and soft. Add the milk to loosen if necessary.
- 4
Cut the cold cake into 5x5cm squares. Split each square down the middle, spread a generous teaspoon of the filling on one half and sandwich back together again. Warn the apricot jam in a small pan and with a pastry brush generously coat the outsides of each square of cake. Set aside to let the jam set a little. 2. To make the icing heat the cream in a pan until just boiling 3. Take of the heat and stir in the chocolate until melted and combined 4. Add the liquid glucose and stir vigorously until the mixture has cooled and thickened to a spreadable consistency. At this stage to you can add a drop or 2 of black food colouring to achieve the classic pearly queen look 5. With a palette knife spread the icing over the sides and top of each little cake and decorate with edible buttons and pearls. 6. Leave in a cool place for the icing to harden and enjoy!
- 5
To make the icing heat the cream in a pan until just boiling. Take of the heat and stir in the chocolate until melted and combined. Add the liquid glucose and stir vigorously until the mixture has cooled and thickened to a spreadable consistency. At this stage to you can add a drop or two of black food colouring to achieve the classic pearly queen look. With a palette knife spread the icing over the sides and top of each little cake and decorate with edible buttons and pearls.
- 6
Leave in a cool place for the icing to harden and enjoy!
Pearly Queen Chocolate Cakes was taken from COOK VEGETARIAN
Download Cook Vegetarian now! Available on your Newsstand...


 New recipes
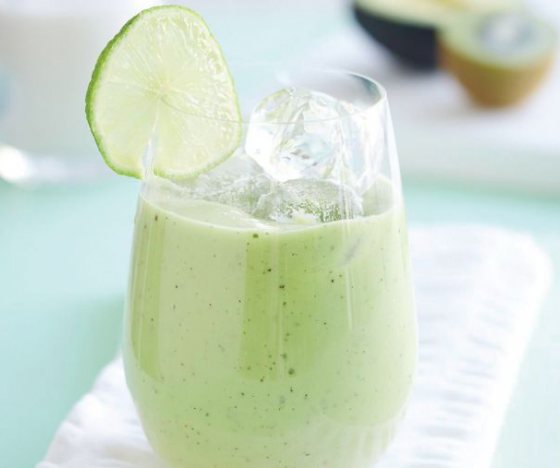
Pick-me-up in a Glass
- Serves:
- 2
- Ready in:
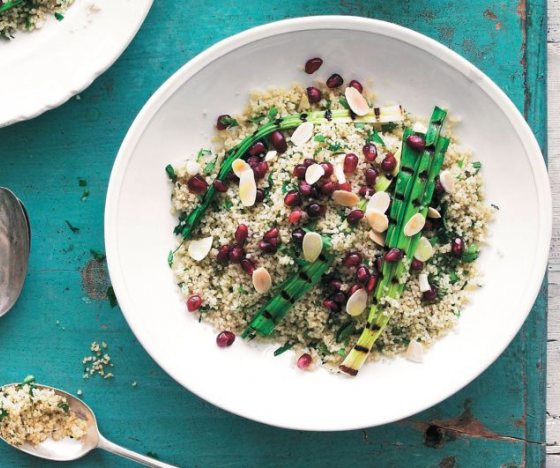
Mediterranean Couscous
- Serves:
- 2
- Ready in:
Leafy Salad with Pomegranate Dressing
- Serves:
- 4
- Ready in:
sign up to our


 follow us on twitter!
- [hr]For the sponge[/hd]
- 340g unsalted butter, softened
- 340g caster sugar
- 6 Ella Valentine free-range baking eggs, beaten
- 340g self-raising flour, sifted
- 50g cocoa powder, sifted
- 3tbsp milk (optional)
For the filling
- 220g butter, softened
- 300g icing sugar, sifted
- 100g cocoa powder, sifted
- 2-3 tbsp milk (optional)
For the icing
- 10g apricot jam
- 200ml double cream
- 200g dark chocolate, roughly chopped
- 1tbsp liquid glucose
- black food colouring (optional)
- edible buttons and pearls, to decorate
Equipment
- 20x20cm square cake tin, greased and lined
- 1
Preheat the oven to 180C/350F/Gas 4. Cream together the butter and sugar until light and fluffy then gradually beat in the eggs. Lightly fold in the flour and cocoa powder, and loosen the mixture with the milk if needed (the mixture should drop easily from the spoon).
- 2
Transfer the mixture into the prepared tin and level. Bake for 45-50mins until risen and firm to the touch. A skewer inserted in the middle should come out clean. Transfer to a wire rack to cool meanwhile make the buttercream.
- 3
With an electric hand whisk combine the butter, icing sugar and cocoa powder until light and soft. Add the milk to loosen if necessary.
- 4
Cut the cold cake into 5x5cm squares. Split each square down the middle, spread a generous teaspoon of the filling on one half and sandwich back together again. Warn the apricot jam in a small pan and with a pastry brush generously coat the outsides of each square of cake. Set aside to let the jam set a little. 2. To make the icing heat the cream in a pan until just boiling 3. Take of the heat and stir in the chocolate until melted and combined 4. Add the liquid glucose and stir vigorously until the mixture has cooled and thickened to a spreadable consistency. At this stage to you can add a drop or 2 of black food colouring to achieve the classic pearly queen look 5. With a palette knife spread the icing over the sides and top of each little cake and decorate with edible buttons and pearls. 6. Leave in a cool place for the icing to harden and enjoy!
- 5
To make the icing heat the cream in a pan until just boiling. Take of the heat and stir in the chocolate until melted and combined. Add the liquid glucose and stir vigorously until the mixture has cooled and thickened to a spreadable consistency. At this stage to you can add a drop or two of black food colouring to achieve the classic pearly queen look. With a palette knife spread the icing over the sides and top of each little cake and decorate with edible buttons and pearls.
- 6
Leave in a cool place for the icing to harden and enjoy!
Pearly Queen Chocolate Cakes was taken from Cook Vegetarian
DOWNLOAD COOK VEGETARIAN NOW! AVAILABLE ON YOUR NEWSSTAND...